Hey coders, In this article we’ll learn How to Create Onclick Image Popup JavaScript. In this we’re gonna use HTML CSS and JS(jQuery) to create this Onclick Image Popup. A Onclick image popup provides interactivity to your website.
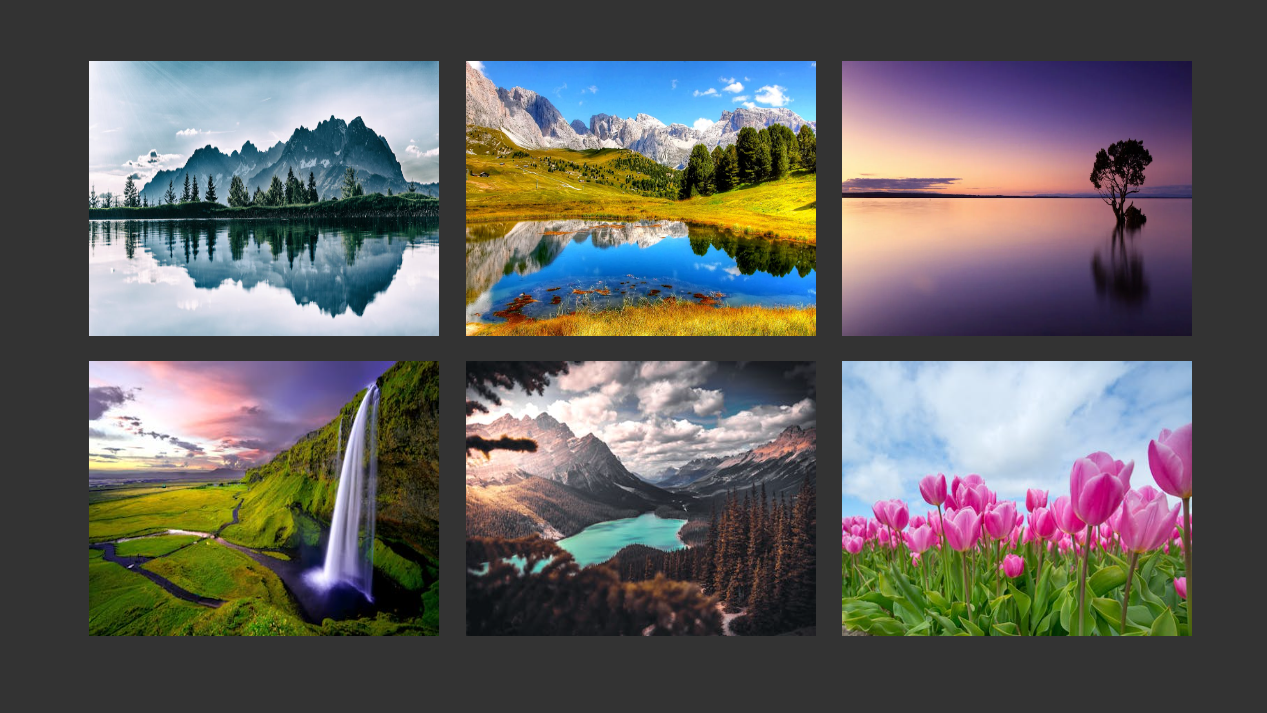
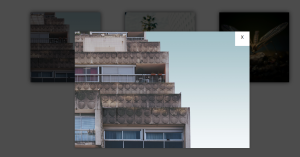
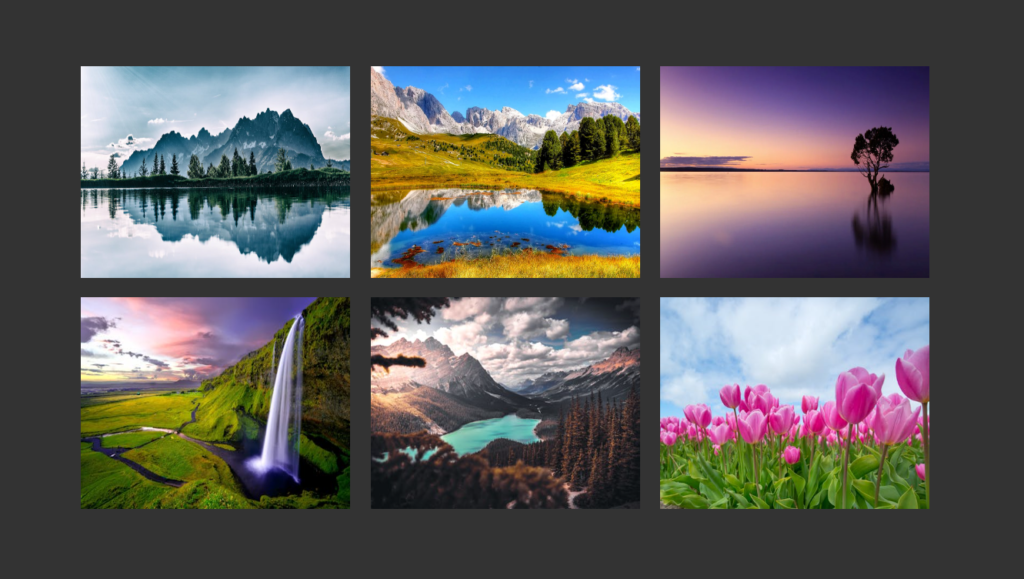
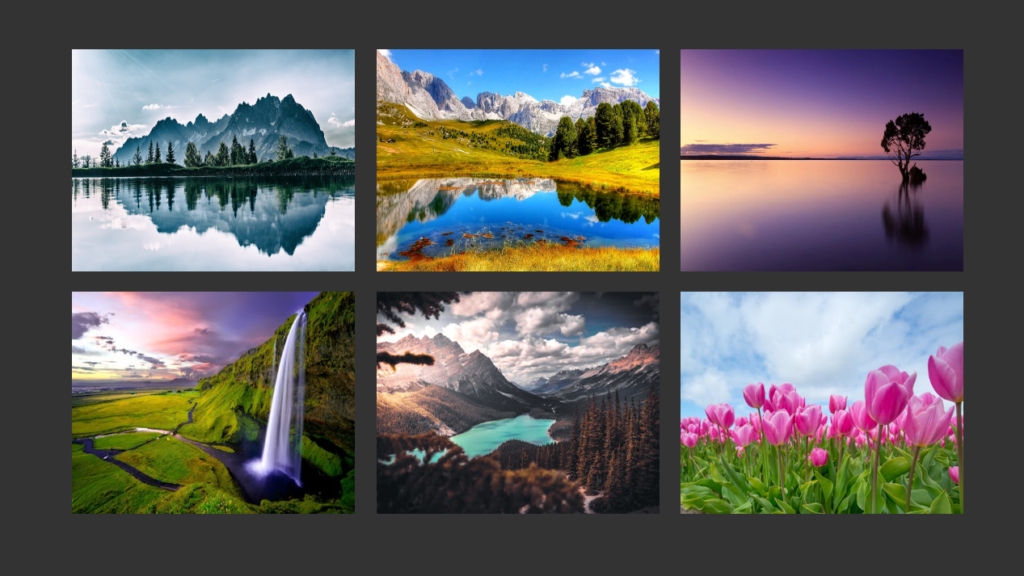
This feature improves interactivity of a page. In this project, We’ve used a image gallery and each time when user clicks on the image, image will popup on the screen and a close button will appear on the top right corner of the screen.
Video Call Website Using Html, Css and JavaScript (Source Code)
To create Onclick Image Popup, We’ve used HTML CSS and JavaScript(jQuery). HTML builds the basic structure of the project and then CSS styles the Image gallery. In this we’ve used basic jQuery concepts.
In this article, you will learn that how to create this type of image popup gallery. If you know the basics of HTML CSS and JS then you can easily create this type of image popup gallery for your website or webpage. Let’s dive into our code.
Onclick popup HTML Code
<div class="container">
  <div class="container__img-holder">
    <img src="https://images.pexels.com/photos/459225/pexels-photo-459225.jpeg?auto=compress&cs=tinysrgb&h=750&w=1260" alt="Image">
  </div>
  <div class="container__img-holder">
    <img src="https://images.pexels.com/photos/371589/pexels-photo-371589.jpeg?auto=compress&cs=tinysrgb&h=750&w=1260" alt="Image">
  </div>
  <div class="container__img-holder">
    <img src="https://images.pexels.com/photos/258109/pexels-photo-258109.jpeg?auto=compress&cs=tinysrgb&h=750&w=1260" alt="Image">
  </div>
  <div class="container__img-holder">
    <img src="https://images.pexels.com/photos/210186/pexels-photo-210186.jpeg?auto=compress&cs=tinysrgb&dpr=1&w=500" alt="Image">
  </div>
  <div class="container__img-holder">
    <img src="https://images.pexels.com/photos/1903702/pexels-photo-1903702.jpeg?auto=compress&cs=tinysrgb&dpr=1&w=500" alt="Image">
  </div>
  <div class="container__img-holder">
    <img src="https://images.pexels.com/photos/589697/pexels-photo-589697.jpeg?auto=compress&cs=tinysrgb&dpr=1&w=500" alt="Image">
  </div>
</div>

<div class="img-popup">
  <img src="" alt="Popup Image">
  <div class="close-btn">
    <div class="bar"></div>
    <div class="bar"></div>
  </div>
</div>
This code is our HTML code. It sets up the basic structure for our Image Popup Gallery. In this code a main div with class container contains all the content of images+. This container contains each part of our image popup gallery. Inside our main container, We’ve created six div with the class “container__img-holder” . Each div contains a img tag with its image source in its src attribute.
All these six div contains a image and together the sets up the basic structure of our image gallery. Six images are added to our image gallery. If you want then surely you can expand the quantity of the images. This is how we created first part of our code.
Portfolio Website in Whatsapp Style Using HTML CSS and JS
Next, We added another main div with class “img-popup”. This div contains an image tag which will be popup. Inside this div another div with the class “close-btn” is created which contains two div for the close button for the pop up image.
This is how our HTML code sets up the basic structure for our image gallery.

CSS Code
html {
  box-sizing: border-box;
}

*, *::before, *::after {
  margin: 0;
  padding: 0;
  box-sizing: inherit;
}

html, body {
  width: 100%;
  height: 100%;
}

body {
  background: #333;
  color: #fff;
  font-size: 18px;
  font-family: 'Segoe UI', Tahoma, Geneva, Verdana, sans-serif;
  line-height: 1.6;
}

/* Image gallery stlyling */
.container {
  max-width: 900px;
  margin: 80px auto 0;
  text-align: center;
}

.container__img-holder {
  max-width: 280px;
  display: inline-block;
  vertical-align: top;
  margin-bottom: 20px;
  margin-left: 16px;
  cursor: pointer;
}

.container .container__img-holder:nth-child(3n+1) {
  margin-left: 0;
}

.container__img-holder img {
  width: 100%;
  height: 220px;
  display: block;
}


/* Popup Styling */
.img-popup {
  position: fixed;
  top: 0;
  right: 0;
  bottom: 0;
  left: 0;
  background: rgba(255, 255, 255, .5);
  display: flex;
  justify-content: center;
  align-items: center;
  display: none;
}

.img-popup img {
  max-width: 900px;
  width: 100%;
  opacity: 0;
  transform: translateY(-100px);
  -webkit-transform: translateY(-100px);
  -moz-transform: translateY(-100px);
  -ms-transform: translateY(-100px);
  -o-transform: translateY(-100px);
}

.close-btn {
  width: 35px;
  height: 30px;
  display: flex;
  justify-content: center;
  flex-direction: column;
  position: absolute;
  top: 20px;
  right: 20px;
  cursor: pointer;
}

.close-btn .bar {
  height: 4px;
  background: #333;
}

.close-btn .bar:nth-child(1) {
  transform: rotate(45deg);
}

.close-btn .bar:nth-child(2) {
  transform: translateY(-4px) rotate(-45deg);
}

.opened {
  display: flex;
}

.opened img {
  animation: animatepopup 1s ease-in-out .8s;
  -webkit-animation: animatepopup .3s ease-in-out forwards;
}

@keyframes animatepopup {

  to {
    opacity: 1;
    transform: translateY(0);
    -webkit-transform: translateY(0);
    -moz-transform: translateY(0);
    -ms-transform: translateY(0);
    -o-transform: translateY(0);
  }

}

@media screen and (max-width: 880px) {

  .container .container__img-holder:nth-child(3n+1) {
    margin-left: 16px;
  }

}
This code is our CSS code. This code styles our image popup gallery. In this code, first of all global styling is given to the document. * selector applies zero margin and padding to all elements and pseudo-elements, ensuring consistent rendering across browsers. Box-sizing is sets as inherit.
html, body contains 100% width and height. Then a bg-color, text-color , font-size and font-family is given to the Body of our HTML document. It sets a line height of 1.6 for readability. Then, .container centers the image gallery and limits the width to 900px with margin 80px auto.
10+ Different Games Using ReactJS (Free Source Code)
The .container__img-holder ensures that the display should be inline-block with a max width of 280px. It is vertically aligned and it has a 16px margin on the left and 20px margin on the bottom. The cursor:pointer changes the cursor to pointer on hover. Using the nth child property, We ensures that the every 1st image in a row of 3 images removes the left margin and keeps it consistent.
Image of the container makes sure that the image takes full width of their container and have fixed height. Then we styled our popup image. First we fixed position of this section and give the 0 from the top, bottom, left and right. A semi transparent background is given using rgba. Using flexbox, the popup image is centered. The display is sets as none.
The popup image takes a max-width of 900px and width of 100%. This is initially hidden with opacity 0 and moved up 100px using translateY(-100px) for the entrance animation. Next, .close-btn takes position absolute and some height width. Top and right takes 20px and cursor: sets as pointer. Then the bars inside the button ,two bars form an “X” (rotate 45deg and -45deg) when clicked.
When the popup image is active, .opened sets the display flex for showing the image. The image animates into view with a 1-second duration, starting after 0.8 second. @keyframes animates the image entrance by transitioning the opacity. Webkit and inbuild CSS properties are also used.
At last, Media queries are used for the responsiveness. When the screen is 880px or smaller, it adjusts the layout so that the first image in every row still maintains a margin-left of 16px. And this is how our CSS code works.
JavaScript(jQuery) Code
$(document).ready(function() {

  // required elements
  var imgPopup = $('.img-popup');
  var imgCont  = $('.container__img-holder');
  var popupImage = $('.img-popup img');
  var closeBtn = $('.close-btn');

  // handle events
  imgCont.on('click', function() {
    var img_src = $(this).children('img').attr('src');
    imgPopup.children('img').attr('src', img_src);
    imgPopup.addClass('opened');
  });

  $(imgPopup, closeBtn).on('click', function() {
    imgPopup.removeClass('opened');
    imgPopup.children('img').attr('src', '');
  });

  popupImage.on('click', function(e) {
    e.stopPropagation();
  });

});
This code is a jQuery script that creates a popup for displaying images when you click on them in a gallery.
The first line of code define that when the whole document is ready, then the JS code will run. Then We accessed all the HTML element in our code using variables. Each variable takes a name. Each variable in our code has their own values and work.
When the imgCont is clicked, It gets the URL of the clicked image. Once when it gets URL, then it changes the popup image to URL. Then it adds opened class to the popup for making it visible.
When imgPopup, closeBtn is clicked, It hides the popup image by removing the class opened. After that it clears the image in the popup means resets. When you click on popupImage, it stops the closing popup if we directly click on the inside image. This ensures that we don’t accidentally close it.
ADVERTISEMENT
This is how our JavaScript Code works.
ADVERTISEMENT
Final Output With Code –
follow: Codewithrandom
ADVERTISEMENT
